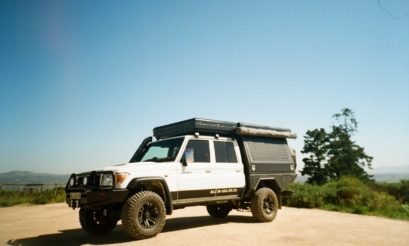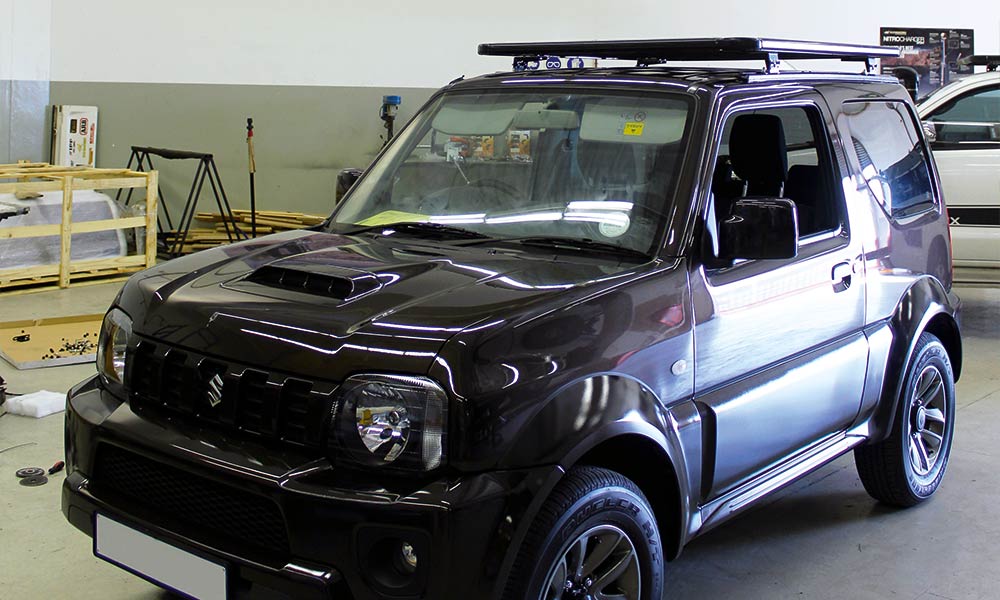

If you thought mounting an aluminium roof rack is a case off connecting four legs to a vehicle’s roof and tightening a handful of bolts, you’d be underestimating the process some. Fitting a Desert roof rack in a 4×4 Mega World shop is quite an intricate business – doing it properly from the word go is vital to ensure both a quality fit and that it can carry the load it’s supposed to sonder probleme. Here’s how a rack is fitted to a Suzuki Jimny.

1. The Suzuki Jimny’s standard roof-rails are removed. The rails are fastened to the roof with bolts – the same bolts will be used for the new roof rack.
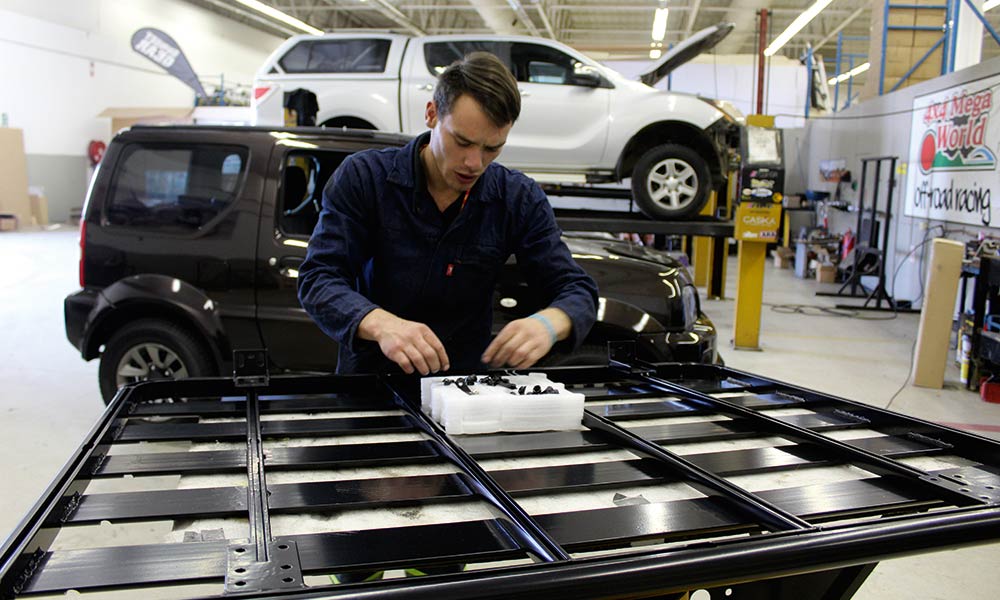
2. The Desert Rack fitting kit is unpacked to ensure all the parts are present and correct. It consists of four legs, four feet, nuts, bolts, washers and eight stud plates with two aluminium tracks. The technician makes sure the tracks line up properly with the Suzuki’s original bolts.

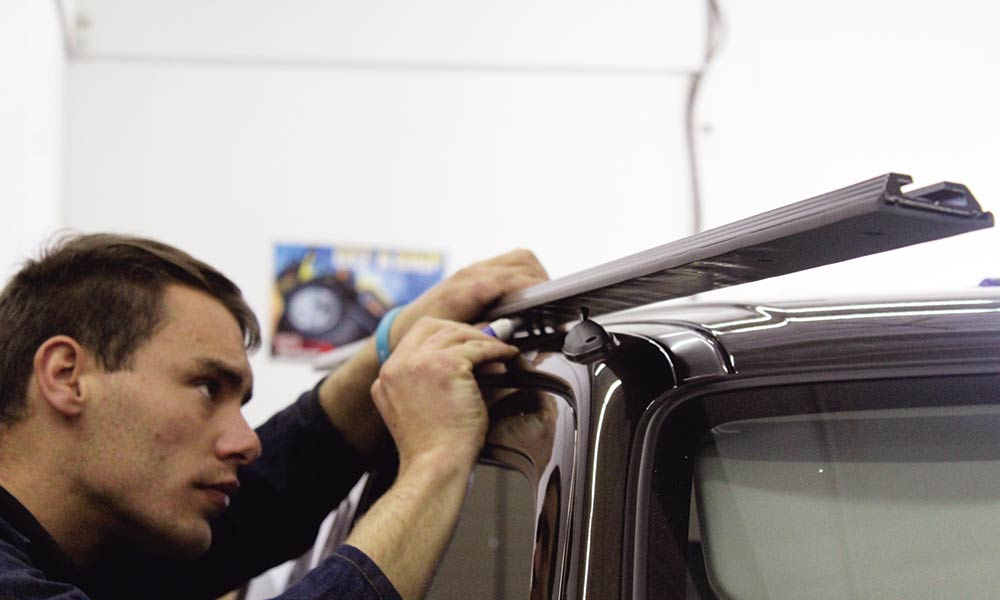
3. The two aluminium tracks are laid on the roof to ascertain which is left and right, as well as to ensure all the holes line up with the bolts.
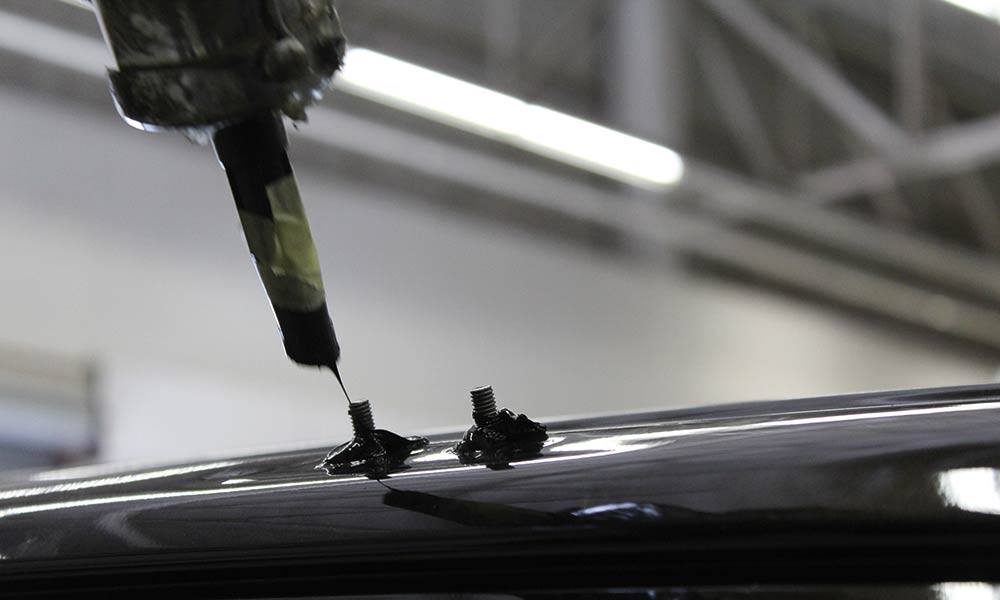
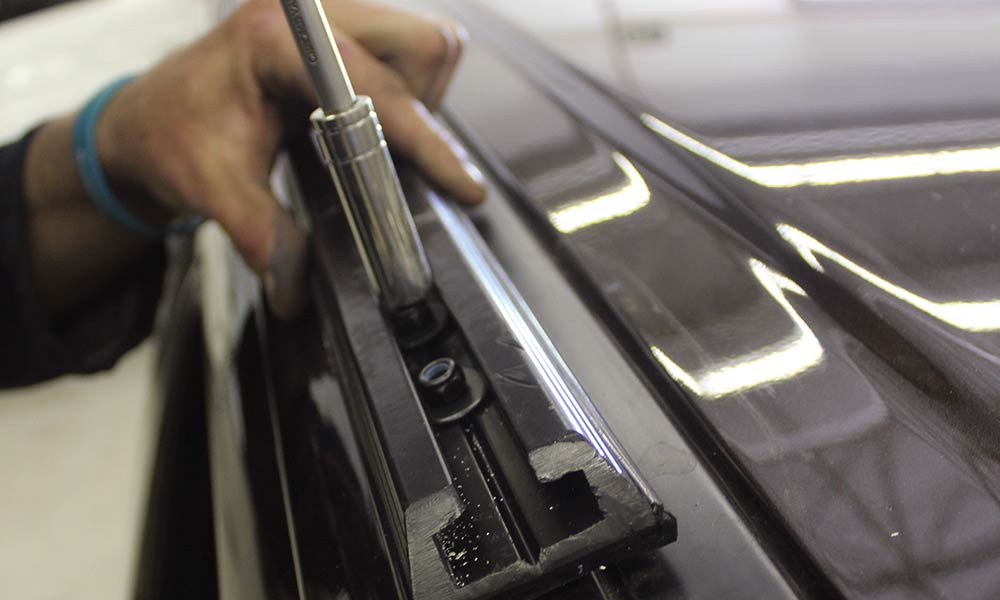
4. Silicone is applied to the Jimny’s roof bolts. This is done to prevent any water from leaking into the roof and possibly causing rust.
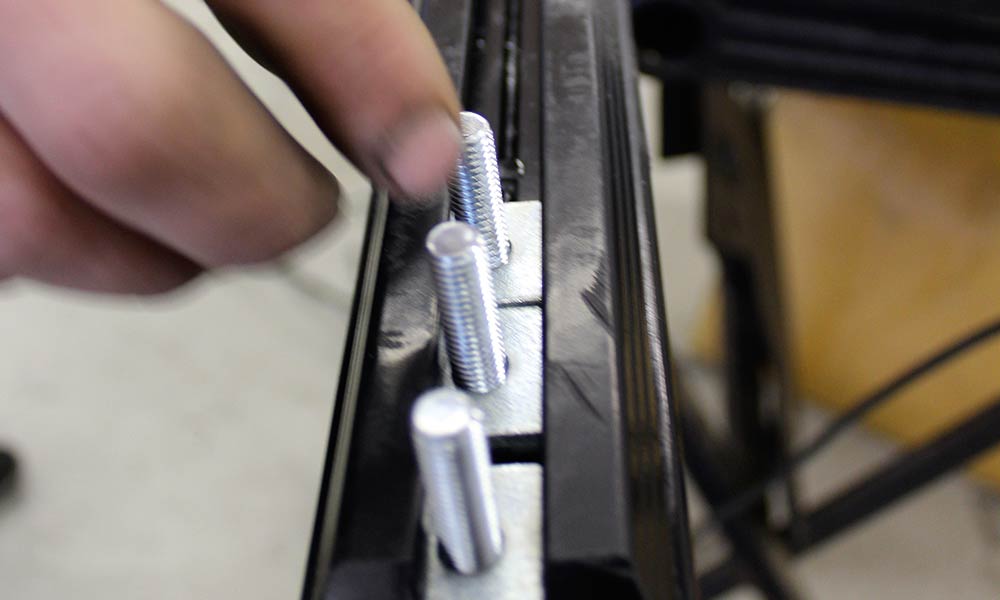
5. The bolts that will be used to fasten the roof-rack’s legs are inserted into the track
6. The track is fastened onto the Jimny’s roof using the original bolts.
7. The technician places the Desert Rack on a stand (with protective cladding to prevent damage to the new rack). This makes it much easier to add all the bits and bobs that now has to be bolted into place… like the legs.
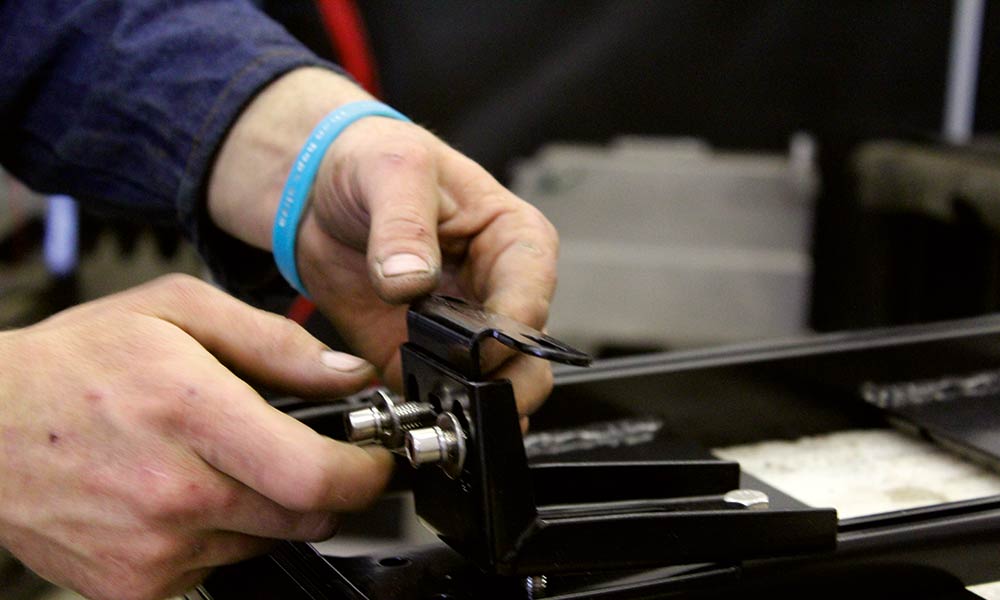
8. The legs are bolted into place. However, the bolts are not completely fastened yet. This will only be done after the final fitment and the rack is perfectly in place.
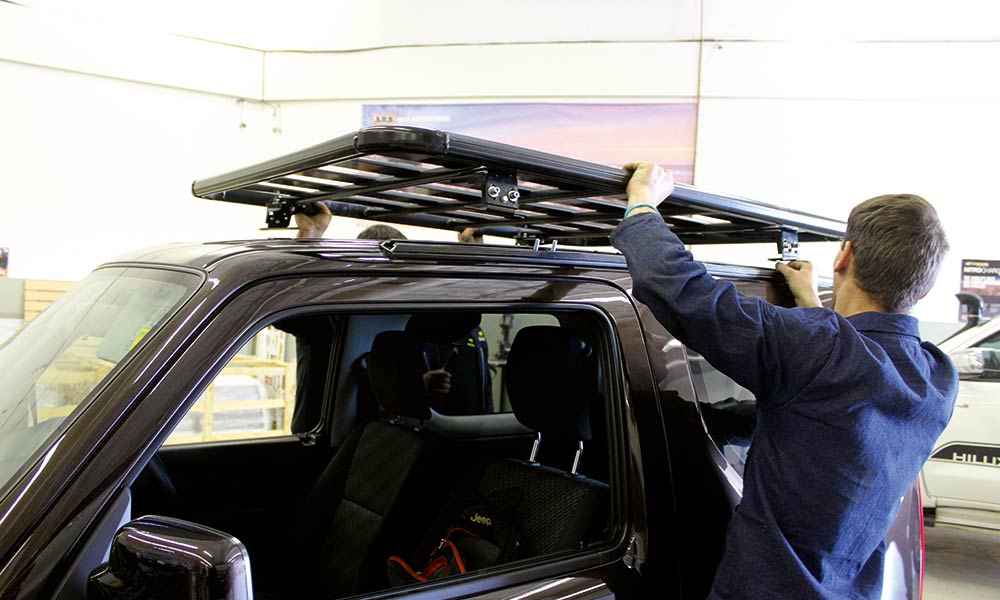
9. With the assistance of another technician, the aluminium rack is fitted on the tracks mounted earlier, with the bolts fixing the legs in place.
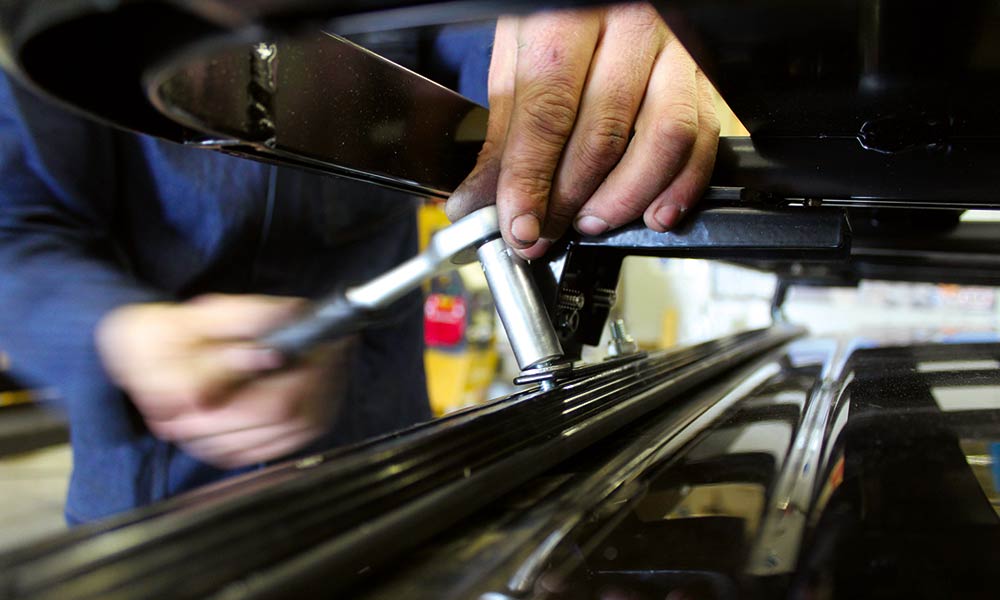
10. After adjusting the rack in the ideal position for the vehicle, Toi fastens all the bolts and nuts, securing the Desert Rack in place.