How can you use a battery to weld in a pinch?
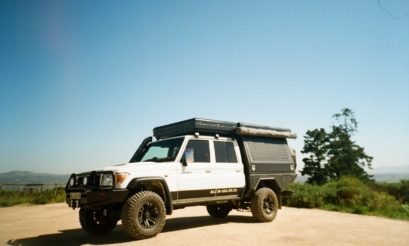
Being able to weld in the middle of nowhere is immensely useful. Sure, it might not fix a problem permanently, but it will hopefully allow you to get to a town where proper repairs can be done.
So, how does one go about it? And what is needed? Thankfully, only a few basic items are needed to weld, and most of them will probably already be in your car. You need three batteries, two sets of jumper cables and some welding rods.
How to weld in the bush
- Firstly, you need to get your hands on three batteries. It can be done with two, but the amount of amps generated is not always enough, so three are definitely better. If you’re in an overland vehicle, you probably already have two in your 4×4, so you just need a third. Borrow one from a travelling companion or ask a friendly Samaritan for assistance.
- Line the batteries up in a row on the ground. Make sure that you do this in an open area.
- With your first set of jumper cables, connect the batteries in series (positive to negative). The negative terminal of the first battery is connected to the positive of the second, and the negative terminal of the second is connected to the positive of the third. Use the negative clamps to connect the first two, and the positive clamps to connect the second pair.
- I would suggest covering the batteries with your vehicle’s rubber mats or with an old towel. When welding, the batteries release a noxious gas. This gas won’t harm you if you are out in the open, but it is still a good idea to cover the batteries.
- Now it is time to connect your second set of jumper cables – the ones that you will actually be welding with. Hopefully you’ll once again be able to obtain a pair of cables from a friend. If you plan on travelling alone, it might be a good idea to take a second pair along. Connect the cable’s one positive clamp to the first battery’s positive terminal, and connect one negative clamp to the third battery’s negative terminal. Make sure to keep the last two battery clamps away from one another!
- Finally, place the welding rod in your remaining negative clamp, and earth the positive clamp by connecting it to the metal that you are about to weld. You’re now ready to start welding.
As you can probably imagine, there are limitations to what can be accomplished with this setup. You will not be able to weld immensely thick pieces of metal together. That said, you will be able to fix small problems such as a broken shock mounting or a torn tow bar.
This simple welding solution has saved me many times, and that’s why I never leave home without a handful of welding rods in my toolbox.