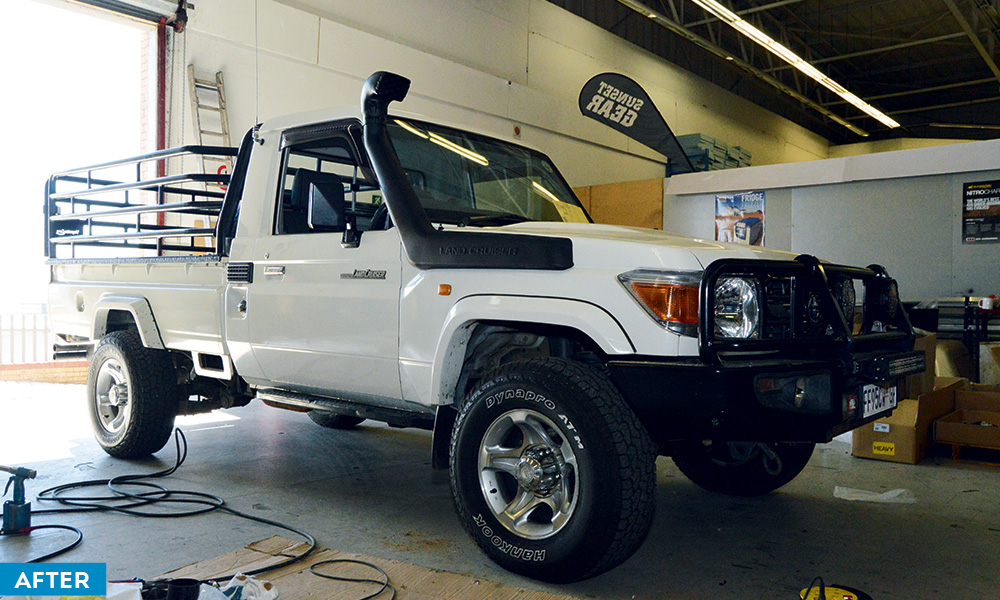
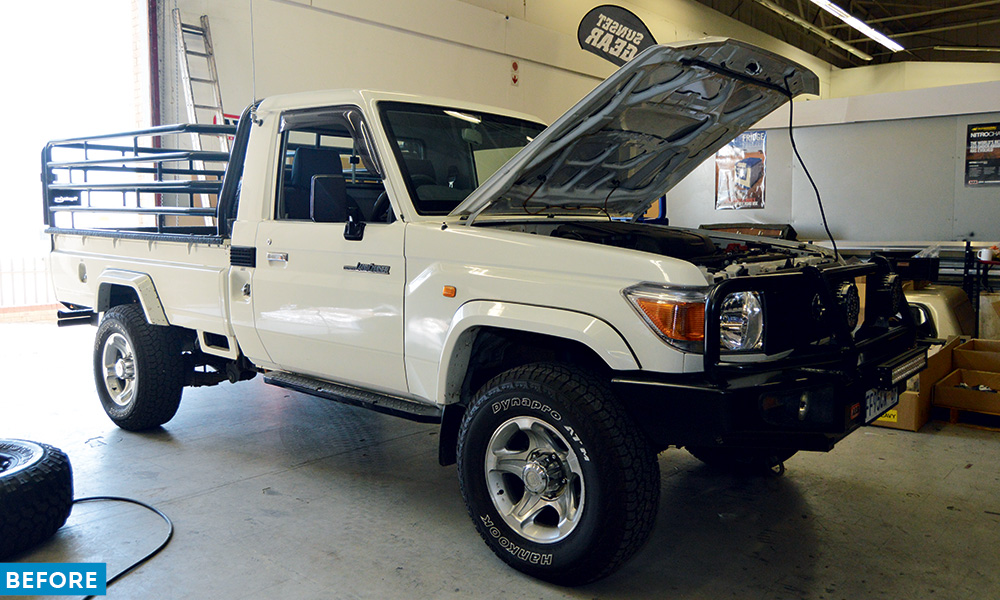
Planning a 4×4 off-road adventure to somewhere wet and wild? Or do you simply want to give your 4×4 that fit for purpose look? Few things do it better than a snorkel. Luckily, it’s a fairly easy installation that takes no more than three hours. To see how the professionals do it, we paid a visit to 4×4 Mega World in Edenvale to see how a snorkel is fitted to a Land Cruiser 79.
1. The snorkel kit is opened and inspected to see if all components are present.

2. The air cleaning assembly, air intake and air filter are removed.

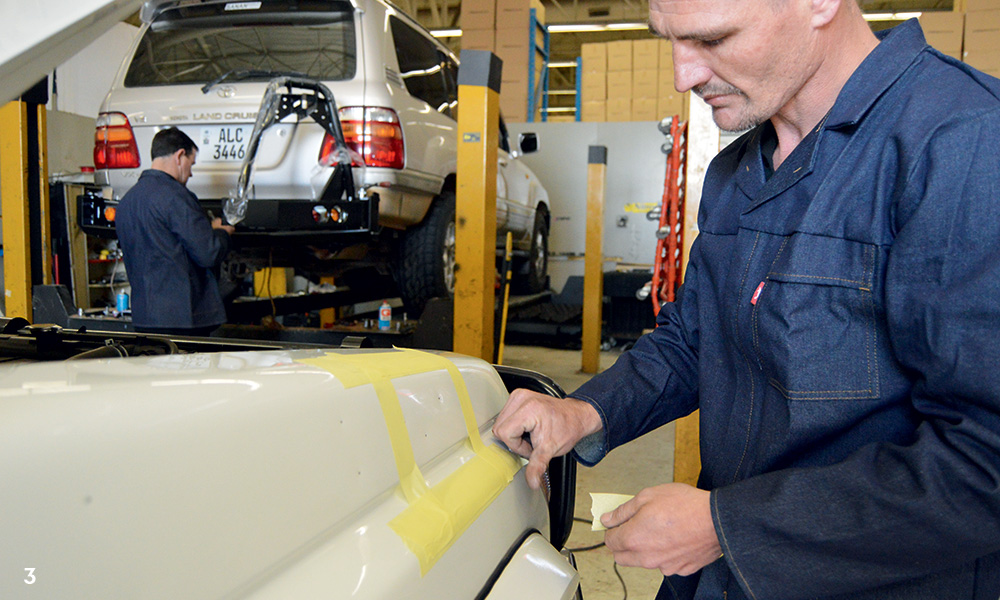
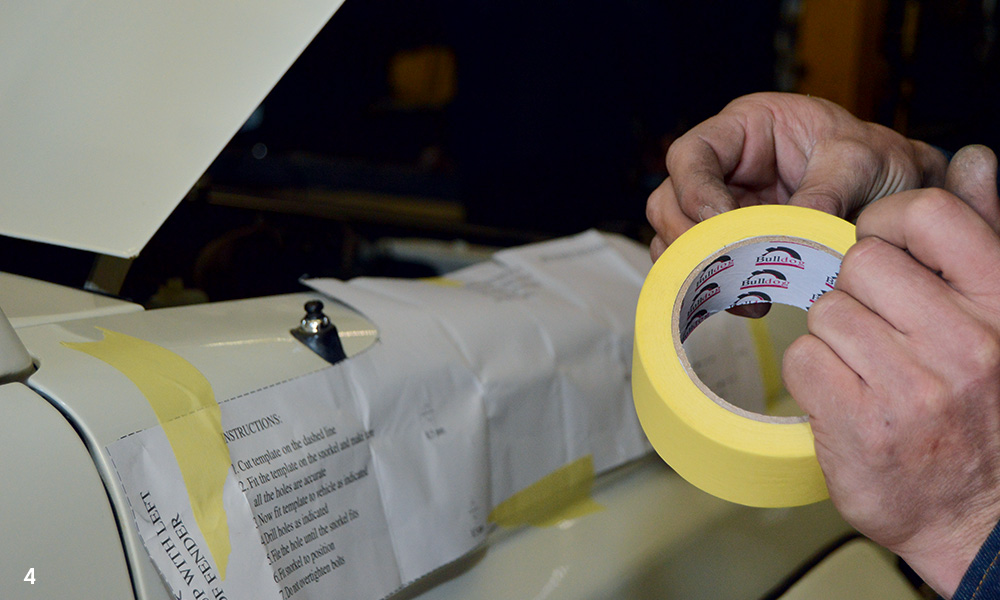
3. To ensure the bodywork isn’t scratched, protection is taped to the working area.
4. A template for the necessary outlet hole is taped to the exterior and the fitter ensures that it lines up inside the engine bay, too.
5. Once the hole is cut, holes are drilled to house the snorkel body. The body is fitted to find the correct position for the A-pillar brackets.

6. The snorkel is held in place and the necessary drill markings are made, after which the entire assembly is removed and the holes are drilled. Metal surfaces are treated with an anti-rust spray to prevent future rust issues, and the A-pillar holes are sealed to prevent water from leaking into the cabin.
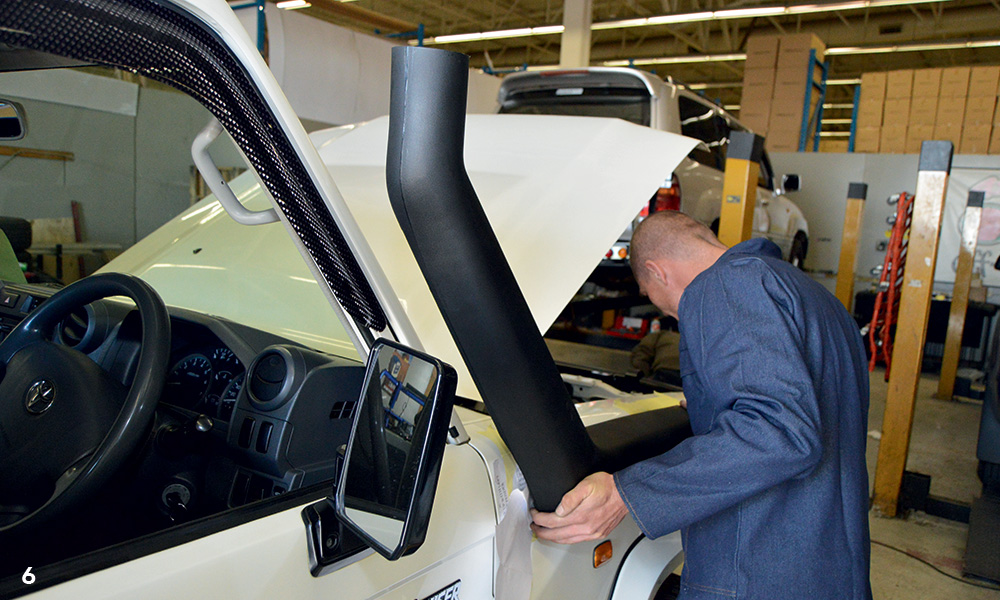
7. The exterior snorkel assembly is bolted firmly in place and the work inside the bonnet starts.
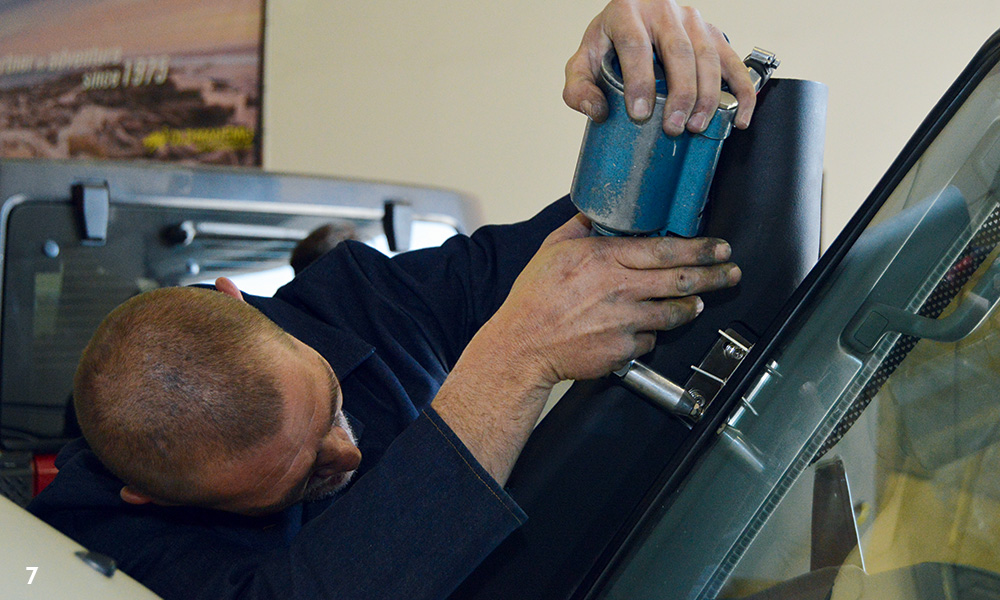
8. The intake hose is attached to the snorkel and secured with a robust clamp.

9. The air filter and air cleaner are refitted and attached to the rubber hose with a secure clamp.

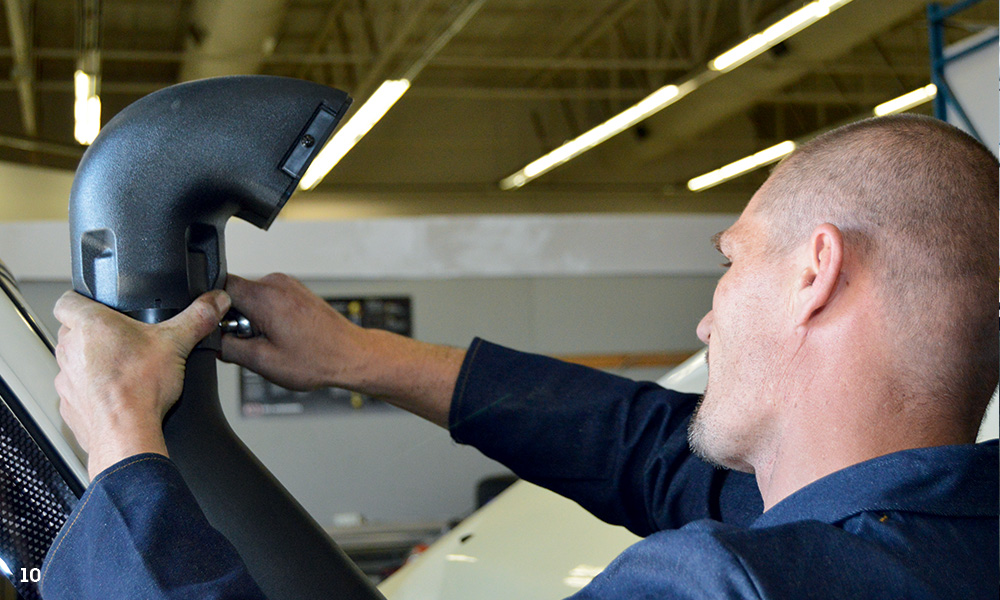
10. The fitter checks his work for any leaks and makes the necessary adjustments if any are found.