Clean it, or leave it?
Some dealership service centres refuse to wash the engines of their own products after a service. Similarly, a handful of 4×4 owners have expensive stories to tell after they had their vehicles’ engines cleaned and damage was done. So what to do? Do you clean it, or do you leave it?
There was Frikkie (not his real name), sporting a wry smile of despair.He had just handed over R22 000 to a workshop for fixing the electronics on his Jeep Grand Cherokee CRD.The Jeep had been used on a 4×4 outing, and being a man who likes to keep his hardware in tip-top shape, Frikkie booked it in for a wash soon after. This included an engine wash. However, he soon got a call: the Jeep’s engine was as dead as a dodo. After transporting the Jeep to a workshop, the problem was traced to a fried electronics control unit (ECU) – water had entered the electronics. The engine wash had clearly been the cause of his expensive repair bill.
So, should you clean it, or leave it?
Subaru Johannesburg washes its vehicles’ engines after a service, saying that if a vehicle is designed to drive through water, a little bit of water in the engine should not harm it at all.
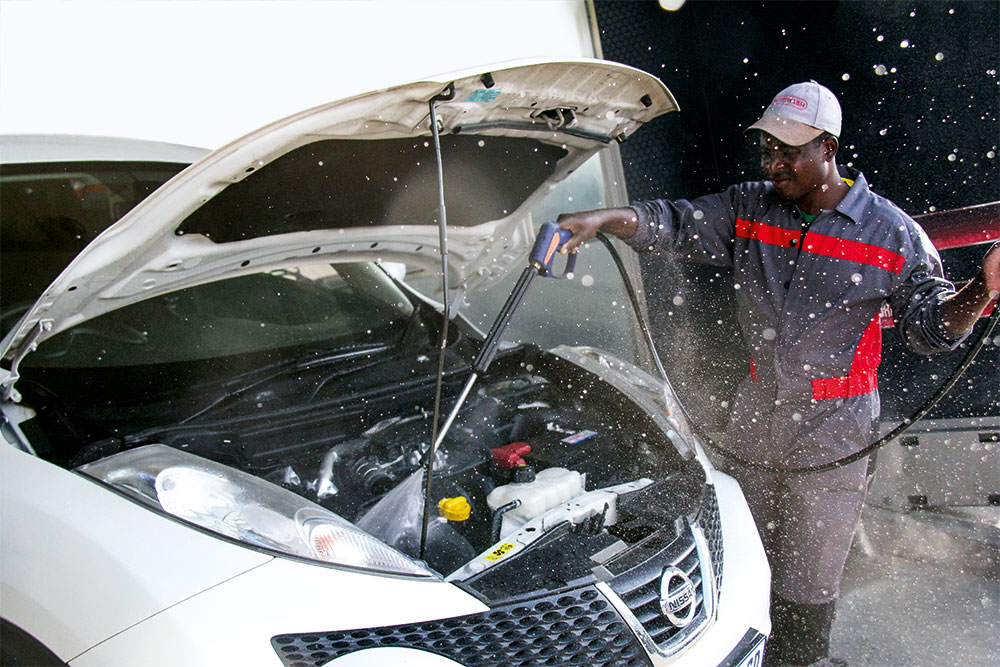
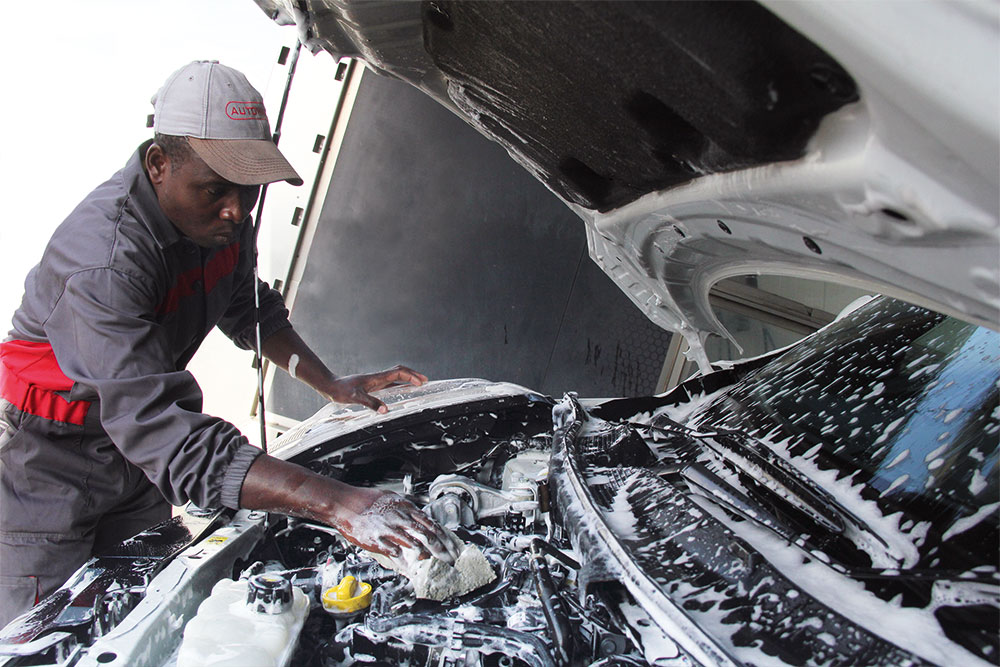
A professional car wash outfit such as Auto Wash, at the Northgate shopping centre in Randburg, cleans hundreds of engines per month – without any issues. The company says it sticks to a few basic rules. For instance, engines are left running at idle speed during the cleaning process, which includes high-pressure washing, soap and hand washing.
Also, the cleaners are trained to use the high-pressure water system in a responsible manner like no obvious spraying of electronic boxes. If you, like Frikkie, prefer to keep your 4×4’s engine all shiny, you certainly can book it for a wash at a professional firm with a proven track record in this field, and has insurance that covers possible damage (if the cleaning company was at fault).
However, if you own a vehicle from a car company that doesn’t endorse washing the engine, you’d best not attempt it, especially if the vehicle is still under warranty. If something does go wrong during a car wash, chances are that company is just going to say “told you so – not our problem”. If you are into the DIY scene though, the task can be quite intricate.
Here are some suggestions:
1. Dust off the manual
This action might go entirely against everything you were brought up to believe if you are a male, but it’s actually a good idea to read the manufacturer’s recommendations for cleaning the engine. More often than not, you’ll find a recipe for a cleaning solution that will get the job done perfectly. If the manual doesn’t provide a recipe, fear not. There are numerous outlets (Builder’s Warehouse, Midas and the like) with friendly salespeople to point you to the over-the-shelf products. But washing the engine with a bar of Lux soap and hosing it down, well, that’s not quite ideal.
2. Start with the battery
If the engine bay and everything in it are horribly dirty, it’s a good idea to remove the battery and clean it separately. Once it’s out, give the connection ports a quick brush with an old toothbrush or metal brush. It’s worth taking the time to clean the battery tray while you’re at it.
3. Brush it down
Take one paintbrush with fairly stiff bristles and brush the engine down to remove the worst of the grime. Try to get as far as possible into those hard to reach places, because this step will remove most of the corrosive dirt and dried mud. And don’t use the kids’ paintbrushes otherwise you’ll never hear the end of it.
4. Wrap it up
If you want to make double sure the water doesn’t get into places it shouldn’t, use a roll of thick plastic and a few cable ties to ensure that parts like the alternator, ECU, distributor and fuses are safe from any liquid. Seriously, take time to isolate these parts, because any water damage will result in an expensive visit to the menders.
5. Back to the brush
Now it’s time to brush the engine down again, but this time using either the cleaning solution you concocted from the pages of the car’s user manual, or the product you bought from the shelf. Apply it liberally to all the nooks and crannies and leave it for at least 30 minutes. Most of these solutions have a degreasing function that takes a few minutes to get the job done.
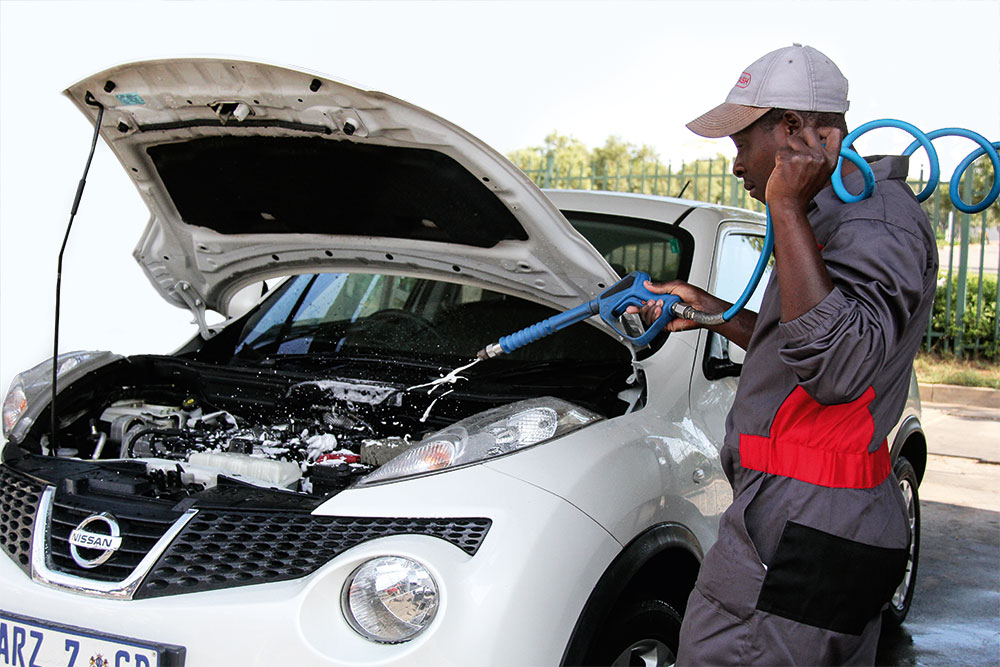
6. Hose it down
It’s finally time to unroll the hose. Give the engine a thorough rinse and ensure that all the soap is washed off.
7. Time for towelling
After the thorough soaking, one has to soak up the worst of the water. Don’t go searching for every single droplet with a torch, but try to at least get the worst of it. One single wipe should be more than enough.
8. Remove the plastic
Remember all those bits you covered with the thick plastic and cable ties? Remove them carefully and check that the waterproofing held up against the hosing.
9. Go for a drive
Nothing evaporates the left over water as thoroughly as engine heat. Take a short drive to get rid of any residual wetness. And that’s that: you’ve successfully cleaned your vehicle’s engine. Time for a beer.
10. Or, just take it to the professionals already…
The DIY route is obviously more cost- effective, but it’s just so much easier to take your ride to a professional cleaning company that you trust. They’ve done it before, so they know the drill. That said, be wary of that never-to-be-repeated engine wash special offer at Kosie’s Car Wash Express on the corner – his two-man operation may not quite be up to the task and you could end up spending additional funds righting Kosie’s wrongs.
Text: Gerhard Horn, Photography: Deon van der Walt